REVIEW · CUSCO
Small Group 5 Days Salkantay and Machu Picchu by Llactapata Tour
Book on Viator →Operated by Xtreme Tourbulencia · Bookable on Viator
The 5 days feel like two trips in one: high-Andes challenge, then a softer walk through farms and jungle before you hit Machu Picchu. What makes this route special is the route change: you arrive at Machu Picchu from Llactapata, not from the usual straight-from-the-valley approach. I also love that this is a true small-group trek (max 9), which means you get more attention on pacing, questions, and logistics.
Two things I’d put at the top: the detailed way the itinerary builds altitude awareness (including optional Humantay Lake time), and the guided Machu Picchu experience at first-light with a focused guide. For a 5-day package around $593, you’re getting major pieces handled: train + bus back to Cusco, entrance tickets, bilingual guide time, camping support, and meals.
One drawback to plan for: the first two days are intense. Even if you can handle altitude, this schedule can feel like a fast start, and one trip noted the first stretches were harder than the later days.
In This Review
- Key takeaways before you go
- Why Salkantay + Llactapata feels different from the usual Machu Picchu trek
- Price and value: what about $593 actually covers
- The Cusco start: 4:00 am logistics and what it means for you
- Day 1: Cusco to Challacancha, then Humantay Lake optional hike
- Day 2: the Salkantay Pass (4600m) and the switch into warmer jungle
- Day 3: orchids, coffee/cacao farms, and Lucmabamba’s family coffee tour
- Day 4: hiking to Llactapata ruins, then down to Hidroeléctrica and Aguas Calientes
- Day 5: first-light Machu Picchu with a guided visit, then train back
- Guides and group size: where small-group really matters
- Camping setup, toilets, and the “real trek” part
- Fitness, altitude, and pacing: how to not wreck Day 4
- Food, tea breaks, and how meals support the hike
- What to pack (and what you’ll want to rent)
- Tips and small issues worth knowing before you go
- Should you book this Salkantay and Machu Picchu via Llactapata tour?
Key takeaways before you go
- Max 9 travelers: easier questions, better pacing, and more of a shared trek vibe
- Llactapata (Day 4): you get Inca views before Machu Picchu town, with panoramic canyon and Machu Picchu Mountain sightlines
- Horse support for your pack: mules/horsemen carry up to 7kg of your personal gear
- Humantay Lake is optional: you can choose the extra altitude effort without breaking the whole day
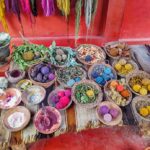
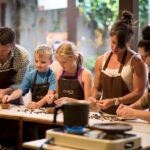
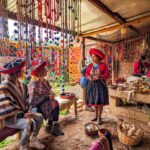
- Lucmabamba coffee experience: you’ll learn the steps from coffee cherries to drying/roasting and taste the work behind your cup
Why Salkantay + Llactapata feels different from the usual Machu Picchu trek
Most treks to Machu Picchu try to cram in everything at once. This one separates the experience in a smart way: you earn your way through changing elevations and ecosystems, then you get a meaningful lead-in to the famous site. Llactapata gives you a high viewpoint and Inca context before you’re standing at Machu Picchu itself.
And because you’re traveling with a professional bilingual guide, you’re not just “walking to photos.” You get explanations of what you’re seeing, from Inca structures at Llactapata to the logic of Machu Picchu’s design during the guided visit.
You can also read our reviews of more tours and experiences in Cusco

Price and value: what about $593 actually covers
At $593 per person for about 5 days, the value comes from what’s included that usually costs extra when you DIY. You get:
- entrance tickets to Salkantay and Machu Picchu
- a professional bilingual guide
- train from Machu Picchu to Ollantaytambo
- bus from Machu Picchu area back to Cusco Historic Center
- one hotel night in Aguas Calientes with a private room and bathroom plus breakfast included
- camping setup support (not a full hotel-style camp, but you do get a dining tent with table and chairs)
- meals across the trek: breakfast (3), lunch (3), dinner (3)
- horsemen and mules (up to 7kg) for your personal equipment, plus an emergency horse option
What’s not included is mostly the smaller-but-real add-ons: the first day’s breakfast and the last day’s lunch in Aguas Calientes, the bus from Machu Picchu to Aguas Calientes ($12), and the sleeping bag (rental noted at $5 per day if needed).
If you’re comparing costs, this package is strongest if you want someone else to manage the big moving parts: permits/entries, train timing, and the trek’s day-to-day rhythm.
The Cusco start: 4:00 am logistics and what it means for you
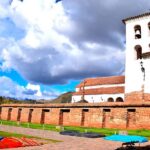
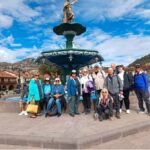
You meet at Plaza de Armas de Cusco and the tour starts at 4:00 am. That early departure matters because Salkantay Day 1 begins with a drive toward Challacancha (around 3400m) and a trek that starts you in mountain air right away.
There’s also a pre-briefing at 19:00 in the office 1 or 2 days before your activity day. That’s a good sign for smoother trekking—expect this to help with gear, pacing expectations, and day-by-day timing.
Day 1: Cusco to Challacancha, then Humantay Lake optional hike
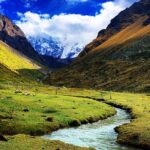
Day 1 is your “get oriented and start moving” day. You’ll leave Cusco and head to Challacancha (3400m), passing through Mollepata (3000m) for a short leg stretch and early views.
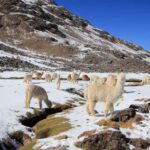
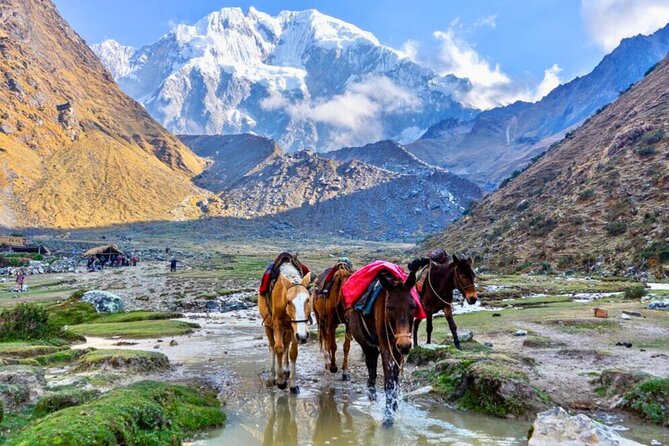
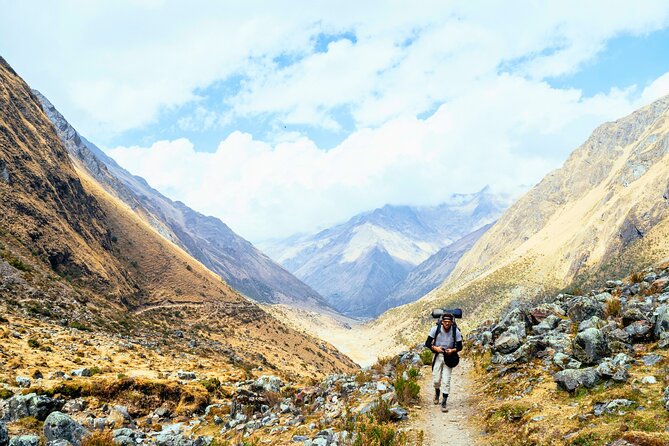
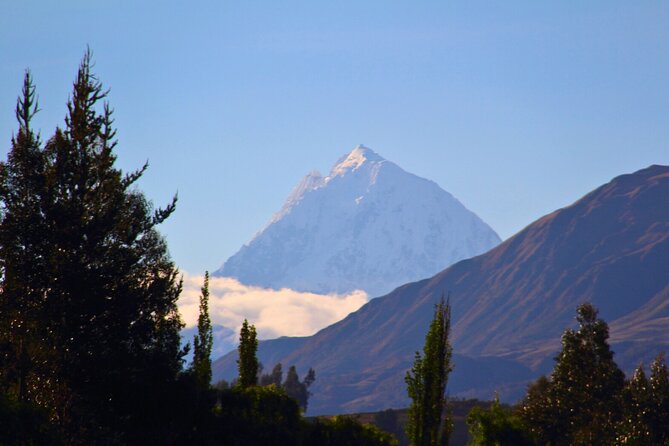
Once you’re at Challacancha, you meet your horsemen and the trekking group—this is where you’ll feel the pace setting. The day includes an initial hike through a valley framed by big peaks: Humantay (5217m) and Salkantay (6264m). It’s a strong first-day setup because you understand the scale of what you’re actually walking toward.
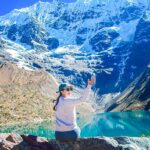
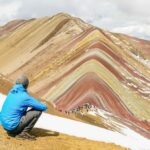
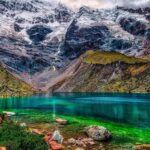
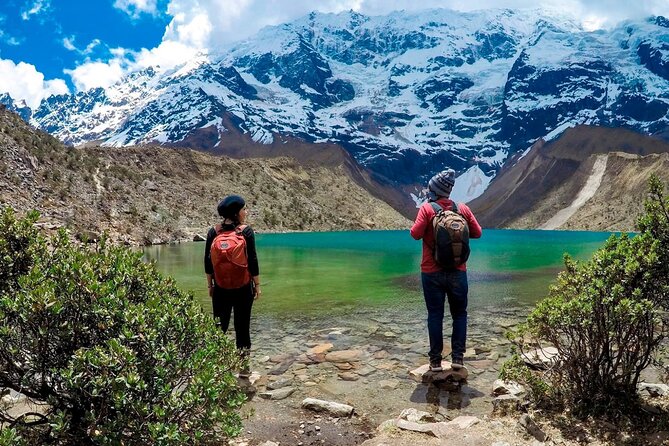
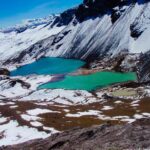
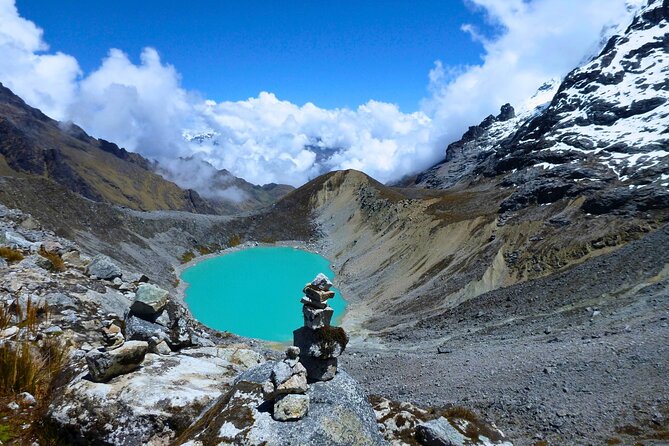
You also sleep at Soraypampa (3700m), and in the afternoon there’s an optional hike to Humantay Lake. Optional is the key word: you can choose the extra altitude effort to taste that turquoise view without turning the whole day into a forced grind.
Practical note: choose Humantay Lake based on how your body feels that evening. If you’re breathy or tired after the drive and first hike, it’s okay to skip and save your legs.
Day 2: the Salkantay Pass (4600m) and the switch into warmer jungle
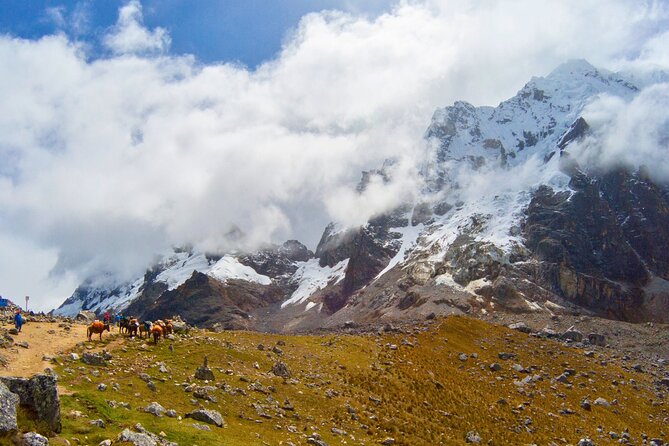
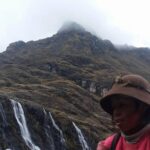
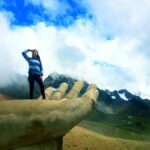
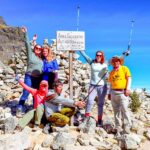
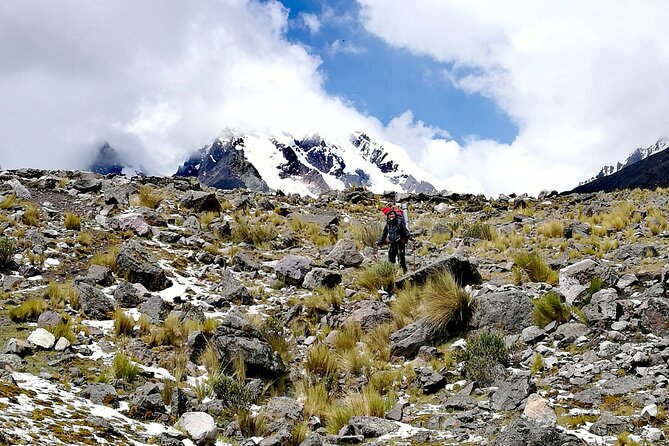
Day 2 is the most demanding “big day” on the route. After breakfast at Soraypampa, you ascend to Salkantay Pass (4600m). The reward is the view of Salkantay (6264m)—one of the region’s highest peaks—and a moment to breathe and take it in at a high pass.
Then comes the descent. As you drop from the pass, the environment changes—your hike moves from colder high terrain into a warmer, more humid zone. This is where your trek starts to feel like it’s growing into the Andes instead of just climbing out of it.
You camp in Collpapampa (3000m), and this is also where mosquitoes can be a factor. That detail sounds minor until you’re tired, sweaty, and trying to sleep. Pack accordingly.
Day 3: orchids, coffee/cacao farms, and Lucmabamba’s family coffee tour
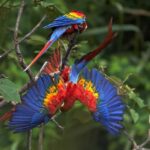
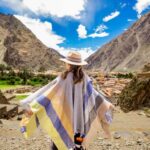
Day 3 shifts focus from raw altitude to agriculture and daily life. You’ll trek down through a dense, plant-rich forest where you can see things like orchids and bromeliads. This is a day for slower observation—look at how the forest works, and you’ll feel less like you’re “surviving the trek” and more like you’re moving through a living system.
As the route opens up, you’ll pass coffee, cacao, and fruit plantations. The big value here isn’t just seeing crops—it’s learning how cultivation supports local communities, and how work on these plants shapes life year-round.
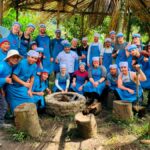
In the afternoon you reach Wiñaypoco and Lucmabamba (around 2000–2650m range along the way), where you camp and spend time at Lucmabamba Lodge. This is also where you get a hands-on cultural moment with a rural family: you’ll see the coffee process from planting and nurturing coffee trees to harvesting, drying, roasting, and making coffee.
If you like food travel, this is one of the days that turns the trek into more than scenery.
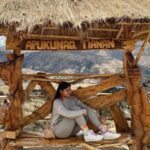
Day 4: hiking to Llactapata ruins, then down to Hidroeléctrica and Aguas Calientes
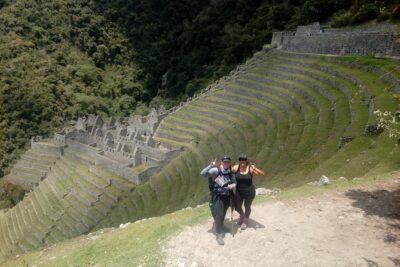
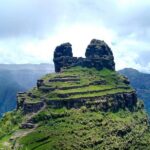
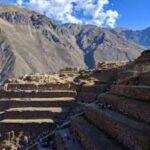
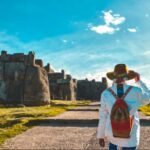
Day 4 starts at Lucmabamba Lodge with a hike up the historic Inca trail toward Llactapata (2650m). Llactapata is smaller than Machu Picchu, but that’s part of the charm: it’s a legible Inca checkpoint, with terraces and structures that help you understand how these trails and stops fit together.
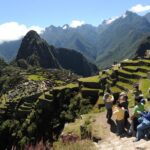
As you approach, you get panoramic views of Machu Picchu Mountain and the Vilcanota Canyon. This viewpoint energy is real—being able to see what’s ahead makes Machu Picchu feel less sudden and more earned.
After Llactapata, you continue downhill to the Hydroelectric train station (1950m). You get a break there, then continue to Machu Picchu town (Aguas Calientes), which becomes your base for tonight.
Tonight is for regrouping. You’ll likely be ready for a normal meal, a shower, and sleep without thinking about steep switchbacks.
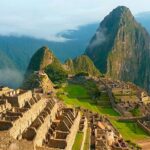
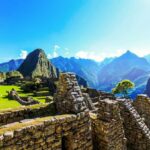
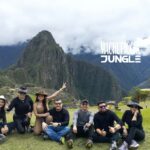
Day 5: first-light Machu Picchu with a guided visit, then train back
The day starts early. You leave your hotel at about 5:30 am and take a tourist bus up to Machu Picchu, arriving around 6:00 am, right in time for early morning light. That timing matters because you’re at the citadel before the biggest crowds peak.
A guide takes you through Santuario Historico de Machu Picchu, and the focus is Inca civilization history, architecture, and how to read the site. You’ll spend about 3 hours in the guided portion, then you head back down to Aguas Calientes.
The big note for your budget: the bus from Machu Picchu to Aguas Calientes is listed as not included ($12). The upstream bus to the ruins is included in the schedule, but the return bus is where the extra cost often shows up.
After lunch time in town (optional at your own expense), your train departs in the afternoon for Ollantaytambo, and a vehicle brings you back to Cusco.
Guides and group size: where small-group really matters
This trek caps at 9 travelers, and that shows in how the day runs. One review specifically highlighted that a smaller group quickly builds connection—less waiting, more space to ask questions, and fewer people falling behind your group rhythm.
On top of that, the guide quality is a repeated theme. Names that have stood out include Jainor (praised for Inca culture knowledge and smooth Spanish-English explanations), Carlos (noted for high-quality guidance), and Henry (friendly, knowledgeable, helpful). Other strong mentions include Rolando/Ronaldo as a guide and Dario for great energy.
If you can choose, request a guide by name. At this size, your guide can truly shape the whole experience.
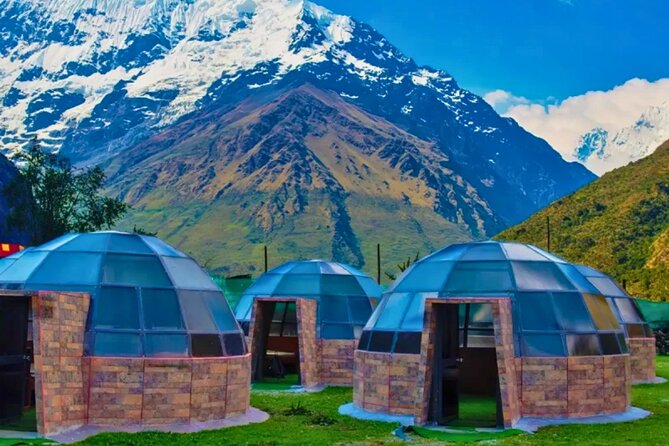
Camping setup, toilets, and the “real trek” part
You get camping equipment—specifically a dining tent with table and chairs—and daily structure built around meals and breaks. That said, camping still means you’re living outdoors part of the time, with the comforts of a trek rather than a hotel.
One small issue came up: toilet conditions could be improved on Day 3. You can’t fix that from your side, but you can plan—bring what you like for personal comfort and accept that Day 3 is the point in the trek where you’re tired and the details feel louder.
Also expect more of the basics than tech life. One review mentioned multiple days with no internet, which can be a feature if you’re there to unplug.
Fitness, altitude, and pacing: how to not wreck Day 4
The route hits real elevation: you go up to Salkantay Pass (4600m), and you camp at 3700m and later drop into warmer areas around 2000–3000m. The tour also requires a strong physical fitness level.
One review called out that the first two days feel higher intensity than the later days, which can affect performance as the trek continues. That’s a common trekking pattern: early days are where the altitude and climbing stack up.
My practical advice:
- go slow on the first climb, even if you feel okay at the start
- drink water consistently (altitude punishes dehydration fast)
- don’t treat optional hikes as optional calories—choose based on your breathing and energy
Food, tea breaks, and how meals support the hike
Meals are a big part of why this itinerary feels manageable. You’ll get breakfast (3), lunch (3), and dinner (3), plus tea and snack time every day. Vegetarian meal options are available, which matters because trek days can limit what you can realistically eat.
One review went out of its way praising the cook’s ability to turn limited supplies into strong, nourishing meals—exactly what you need when you’re working uphill for hours.
If you’re sensitive to altitude-related appetite changes, tell your guide in advance. A good guide can help you manage portion timing without wasting food.
What to pack (and what you’ll want to rent)
The tour lists the sleeping bag as not included (with a rental option of $5 per day). Don’t assume you can wing it—camping comfort matters when you’re hiking again the next day.
Other items you’ll want (based on the trek style and conditions you’re walking into):
- layers for cold early high-mountain mornings
- mosquito protection for the warmer, humid day (Collpapampa)
- a rain layer (Andes weather can flip fast)
- personal items for hygiene at camp (since Day 3 toilet comfort may be an issue for some people)
Also keep in mind the 7kg gear-carry limit. Your pack strategy matters: bring what you truly need, and let the horse/mule system handle the heavy stuff within the stated limit.
Tips and small issues worth knowing before you go
This is one place I’ll be blunt because it prevents awkwardness later. One review flagged confusion about tipping expectations for the cooks and porters/horse support. Their tip was to be very clear on tipping expectations ahead of time, because the service matters and the team’s work is physically intense.
So before you start walking, ask your guide or organizer what’s expected for:
- cooks/meal support
- porters or pack carriers
- the horseman/mule team
It’s also okay to ask what’s customary for your group size and where the company directs tips.
Finally, if you’re the type who hates early mornings: the 4:00 am start in Cusco and the 5:30 am departure for Machu Picchu day mean you’ll live on the same schedule for five days. Build your sleep the night before.
Should you book this Salkantay and Machu Picchu via Llactapata tour?
Book it if you want:
- Machu Picchu with context, not just a crowded-day photo stop (Llactapata first helps)
- a small group (max 9) and a guide who can explain what you’re seeing in detail
- a trek that includes coffee/cacao and rural family time, which adds meaning beyond hiking
Think twice if:
- you’re not ready for an intense start (Day 1 and Day 2 are demanding, and one review noted the uneven intensity)
- you hate camping comfort tradeoffs (especially since sleeping bag is not included and toilet conditions may be imperfect on Day 3)
- you need your return logistics fully included end-to-end (the bus back from Machu Picchu to Aguas Calientes costs extra)
My final recommendation: if you decide to go, request your guide by name when possible. Names like Jainor or Rolando/Ronaldo have stood out for passion and clear Spanish-English guiding, and that can turn this into a genuinely memorable 5-day story.